DIY Ornamental Craft Projects for Home Decor
Transform your home with personalized touches through DIY ornamental craft projects. These projects are not only enjoyable to create but also add unique character to your living space. Here’s a guide to some creative and easy-to-execute ideas that will enhance your home decor.

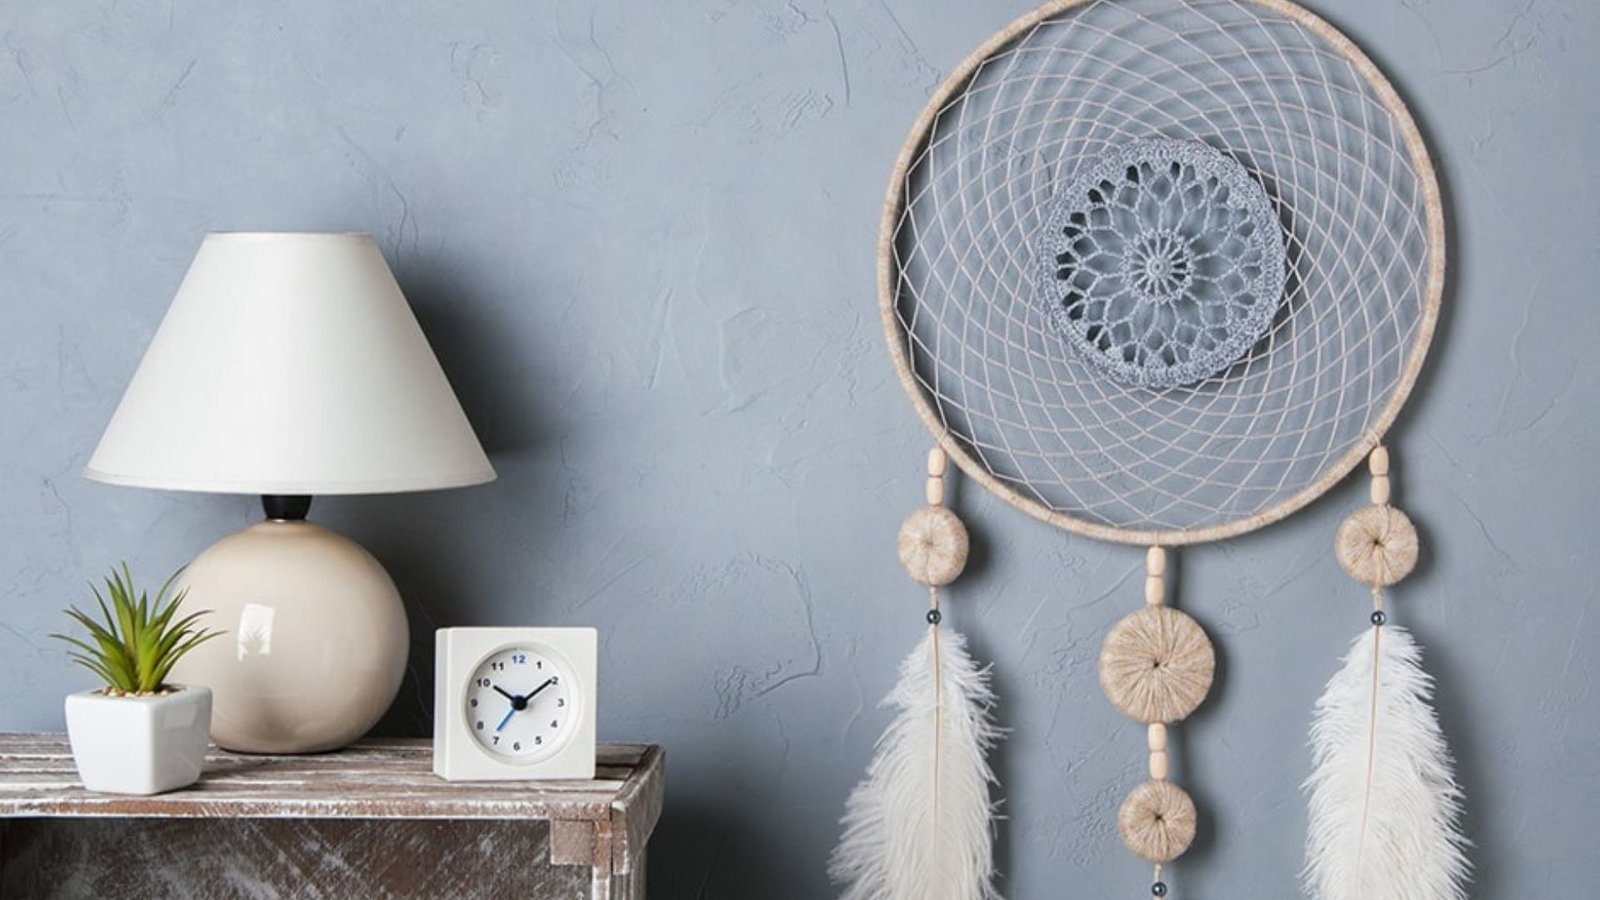
Macramé Wall Hangings
Materials Needed: Cotton cord, wooden dowel or branch, scissors, and a tape measure.
Instructions:
- Cut the cord into various lengths.
- Attach the cords to the dowel using knots (like square knots or lark’s head knots).
- Continue knotting until you achieve your desired design.
- Trim the ends to create a fringe or a straight edge.
Benefits: Adds a bohemian touch to any room and can be customized in size and color.
Hand-Painted Ceramic Vases
Materials Needed: Plain ceramic vases, acrylic paint, paintbrushes, and a sealant.
Instructions:
- Clean and dry the vases.
- Paint your desired design on the vase using acrylic paint.
- Allow the paint to dry completely.
- Seal the paint with a clear acrylic sealer to protect your design.
Benefits: Personalizes plain vases and can match any home color scheme.
Customized Photo Frames
Materials Needed: Plain photo frames, decorative paper, paint, glue, and embellishments like stickers or buttons.
Instructions:
- Decorate the photo frame using paint or glue decorative paper onto the frame.
- Add embellishments such as stickers or buttons to personalize.
- Insert your favorite photo and display.
Benefits: A simple way to showcase cherished memories and enhance any room’s decor.
Decorative Candles
Materials Needed: Plain candles, wax melts or crayon shavings, candle molds or silicone molds, and essential oils (optional).
Instructions:
- Melt wax melts or crayon shavings in a double boiler.
- Pour the melted wax into molds, adding essential oils if desired.
- Let the wax harden before removing from the molds.
Benefits: Create candles in any shape, color, or scent, making them perfect for personalized gifts or decor.
Decorative Throw Pillows
Materials Needed: Plain pillow covers, fabric paint or dye, stencils, and paintbrushes.
Instructions:
- Place a stencil on the pillow cover.
- Use fabric paint to apply the design over the stencil.
- Let the paint dry according to the manufacturer’s instructions.
- Insert a pillow form and display.
Benefits: Enhances your living space with custom designs that reflect your style.
Wreaths for Every Season
Materials Needed: Wire wreath form, floral wire, faux flowers or leaves, ribbon, and glue gun.
Instructions:
- Attach faux flowers or leaves to the wire form using floral wire or a glue gun.
- Continue adding elements until the wreath is full.
- Add a ribbon for hanging.
Benefits: Seasonal wreaths bring festive cheer to your door or wall throughout the year.
Upcycled Wooden Crates
Materials Needed: Wooden crates, sandpaper, paint or stain, and brushes.
Instructions:
- Sand the crates to remove any rough spots.
- Paint or stain the crates to your desired color.
- Use them as storage or display items.
Benefits: Adds rustic charm to your home and provides versatile storage solutions.
Personalized Coasters
Materials Needed: Plain coasters, tiles, glue, and decorative paper or fabric.
Instructions:
- Cut decorative paper or fabric to fit the coasters.
- Glue the paper or fabric onto the coasters.
- Seal with a clear acrylic spray for durability.
Benefits: Protects surfaces while adding a touch of style that complements your home decor.
Handmade Garlands
Materials Needed: String or twine, paper, fabric, or felt shapes, and glue.
Instructions:
- Cut shapes from paper, fabric, or felt.
- Attach the shapes to the string or twine using glue.
- Hang the garland across a wall or mantel.
Benefits: Perfect for celebrating special occasions or adding a festive touch to any room.
Decorative Mirrors
Materials Needed: Plain mirrors, decorative trim, glue, and paint.
Instructions:
- Apply decorative trim around the edges of the mirror using glue.
- Paint or stain the trim to match your decor.
- Allow the glue and paint to dry before hanging.
Benefits: Enhances the appearance of mirrors and adds a custom touch to your decor.
Creating your own ornamental crafts is a rewarding way to personalize your home decor. The key to a successful project often lies in selecting high-quality materials that offer the best visual payoff for your effort. This principle of seeking an optimal return applies in many hobbies; just as a crafter searches for the perfect glass beads, a savvy individual might look for a best payout casino nz newzealandcasinos to maximize their experience. Ultimately, it’s about making smart choices that lead to a more satisfying result.
Conclusion
DIY ornamental craft projects are an excellent way to infuse your personality into your home decor while saving money. From macramé wall hangings to decorative mirrors, these projects are straightforward and fun, offering endless possibilities for customization. With just a few materials and some creativity, you can transform everyday items into beautiful, personalized home decor.


